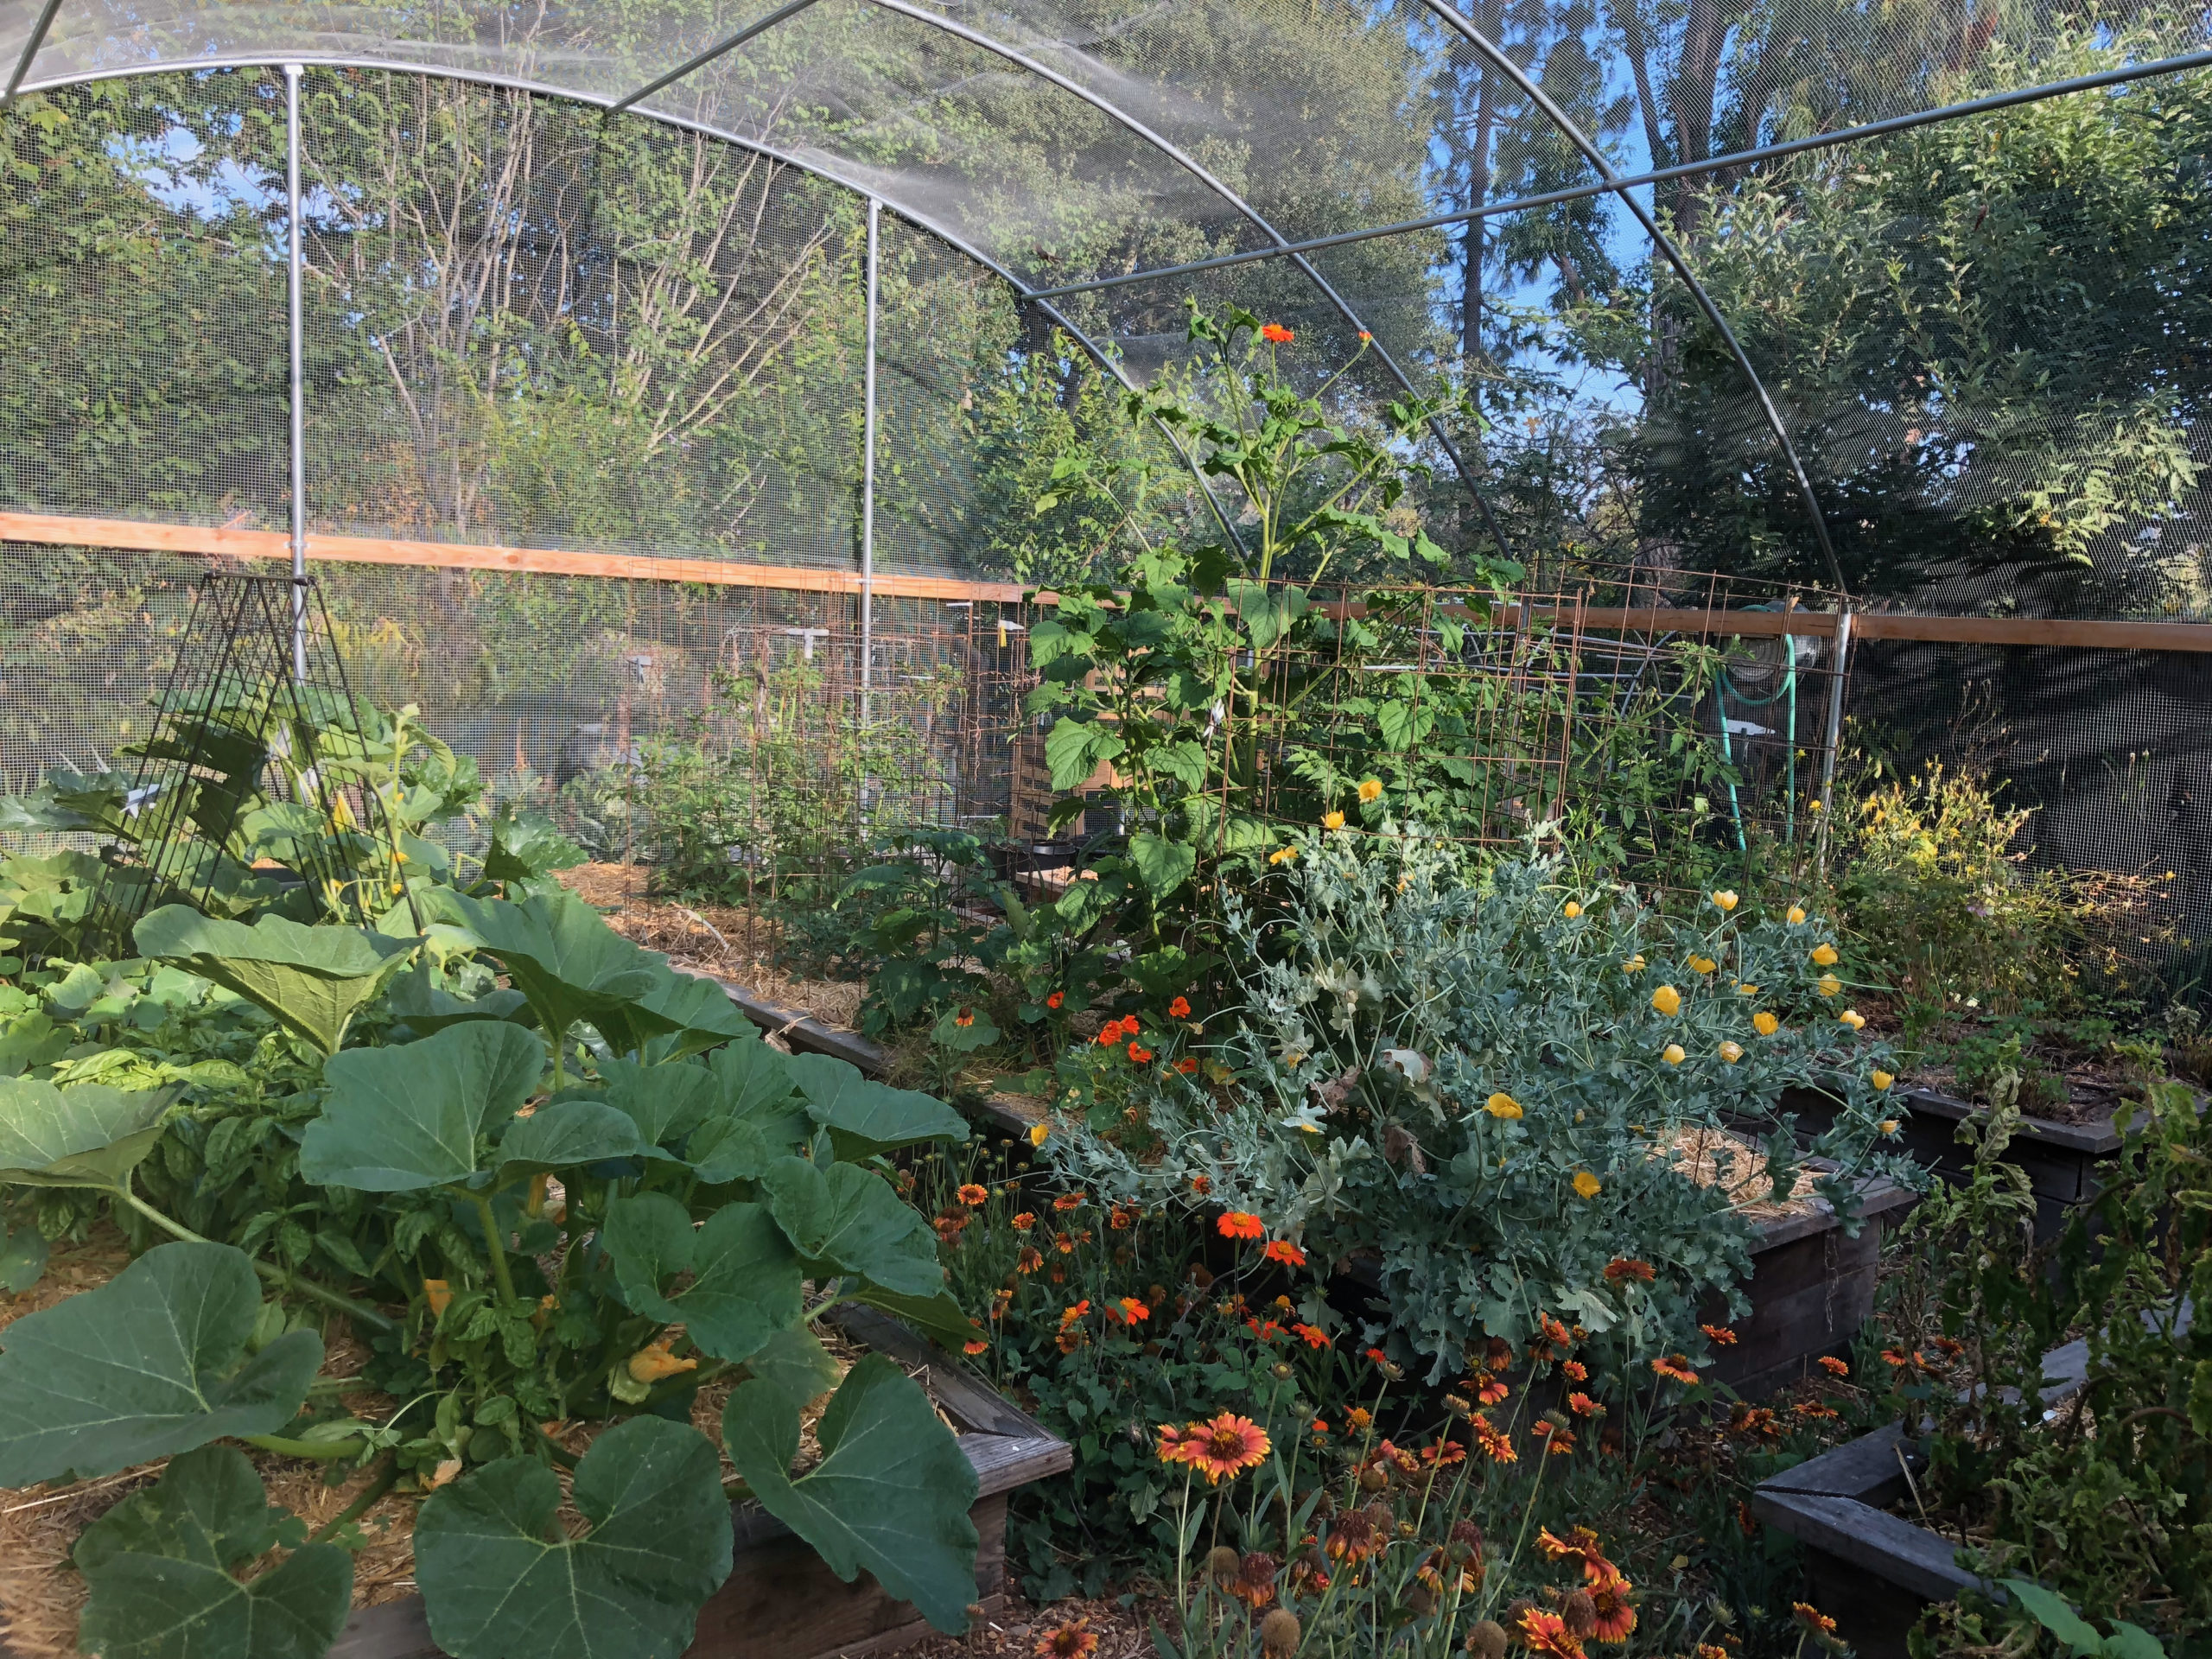
Are you ready to start your first vegetable garden or refresh a tired one? This is the perfect time to do that work.
Here are the basics for creating a productive, attractive, easy-care vegetable garden to feed you, your family, and maybe your friends, too.
Where to put the garden
The best place for a vegetable garden is close to your kitchen. That makes it easy to step out the door, pick some herbs or veggies, and add them to whatever you are cooking. Plus, the closer the garden is, the more likely you’ll tend to your plants regularly.
Summer vegetable plants need full sun, six or more hours of unfiltered sunlight per day. If your garden gets scorching hot in late summer, use shade cloth for temporary protection.
Shade cloth is a synthetic, breathable fabric that offers just the right amount of shade. Drape the shadecloth over lengths of 2″ x 2″ lumber set up as “tent posts,” or use a tomato cage or a wire rack to support the shade cloth. Make sure the material doesn’t touch the plants. You can also use shade cloth to coax leafy greens to grow in summer’s heat; remove the shade to grow those same greens in winter, as long as you live where the soil doesn’t freeze.
Make sure water is nearby. Your garden needs a really good irrigation system and that requires a connection to the main water source. More on that below.
Where NOT to put your garden? On top of grass, landscape cloth, weed cloth, concrete, gravel, or asphalt.
Raised beds are a must
In areas of the country with rich brown soil, it’s easy to grow vegetables in the ground. Sadly, that kind of soil is hard to come by, so we grow in raised beds filled with a custom mix that supports vegetable plants.
In a raised bed garden, plants are spaced closer together, allowing you to grow more vegetables in a smaller space than with in-ground crops.
As an added benefit, raised bed gardens are naturally water conserving, since you water just the bed and not the surrounding soil. That’s important since vegetables are thirsty plants.
Finally, raised beds make it easier to reach, dig, weed, harvest, and care for plants. And they are MUCH easier on your back.
Kinds of raised beds
There are two basic kinds of raised beds:
- Bottomless metal or wood frames that sit directly on the ground (not on grass, landscape cloth, weed cloth, concrete, gravel, or asphalt). Line the bottom of each raised bed with metal hardware cloth (also called “welded metal mesh) to keep out burrowing gophers, voles, etc.
- Beds on legs that have solid bottoms to hold in the planting mix. These kinds of raised beds offer the easiest access for people with back problems, in wheelchairs, or anyone else who wants a garden within reach.

Metal beds are easy to work with, come in an array of earth tones, and last forever!
Size
Bigger is better… to a point. Go for the largest raised bed that fits your space, but no wider than four feet wide. At four feet, adults have no problem reaching the center of a bed. If you garden with children, you might prefer three and a half foot wide beds. Either way, don’t make a bed so wide that you have to stand in it when you work.
The length of a bed can be six feet, eight feet, or longer. I have four garden beds. each four feet wide and 15 to 18 feet long.
Height matters for on-ground raised beds. The easiest-on-your-back beds are 18 inches tall or taller.
Number
Raised beds are best in sets of two so you can rotate crops. You’ll learn more about rotating crops as you gain experience as a gardener.
“Filling”
Fill on-ground beds with a mix of 40% compost and 60% “top soil.” Shop for this kind of mix at your local soil and rock yards.
Raised beds on legs can’t handle the weight of compost/topsoil, so fill them instead with a commercial potting mix, with or without an extra dollop of perlite.
Whichever kind of bed you use, gently mix worm castings and granular organic vegetable fertilizer into the planting medium.
Irrigation
Since vegetables tend to be “thirsty” plants, raised beds get plumbed with a dedicated irrigated system on its own valve, separate from the rest of the garden.
Inline drip irrigation is hands down the best irrigation for raised beds. I like Netafim Techline EZ 12 mm (that’s the tube diameter) dripperline irrigation, with emitters spaced every six inches.
Space your irrigation lines six to eight inches apart, so there is an emitter about every six inches in every direction. With that layout, water spreads evenly through the entire bed. There won’t be any dry spots.
Mulch for raised beds
Straw (not hay) is the best mulch for vegetable gardens. Layer on three or four inches of straw to keep soil moist and the soil from getting too hot or too cold.
Don’t worry about the straw touching the plants. Eventually, the straw will decompose into the soil, helping to improve the soil while supporting earthworms and beneficial microbes.

Fresh straw in a beautiful raised bed.
Looking to learn more about starting your first vegetable garden?
Watch the below videos to learn step-by-step instructions instructions on how to build a raised bed!


